In this tutorial, you will learn how to install Nginx on Debian 12, efficiently manage web traffic, and improve the performance of your website.
Installing Nginx on Debian 12 has various purposes, all revolving around its important features as a high-performance web server and reverse proxy. Indeed, Nginx is capable of handling huge numbers of concurrent connections using minimal memory for serving static content, load balancing, and acting as a reverse proxy for HTTP and HTTPS traffic. It provides a seamless user experience even in high loads.
Method 1: Installing Nginx Using the Default Repository
Nginx gives an advantage, such as you might enjoy using to keep your web server safe, stable, secure, and ready to meet its objective by simply having it installed onto Debian 12.
Let’s follow below steps:
Step 1: Update Debian Packages
First of all, refresh the package indexes on the Debian system before starting any package:
sudo apt update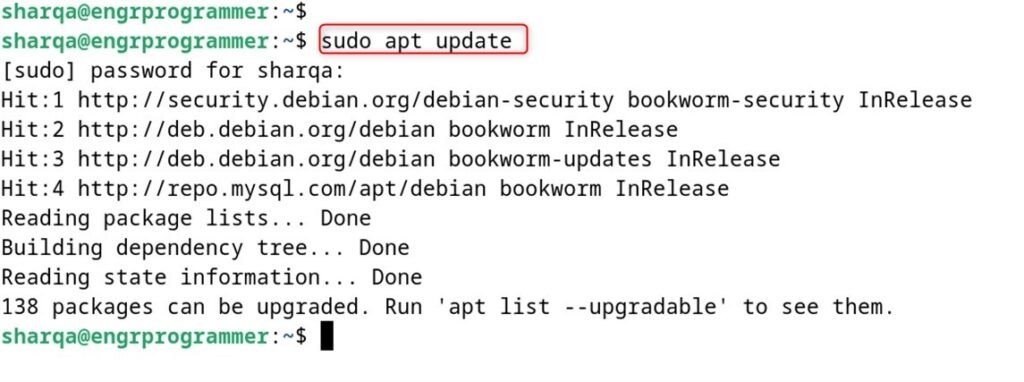
Step 2: Install Nginx
In this step, users can install Nginx through the APT package manager:
sudo apt install nginx -y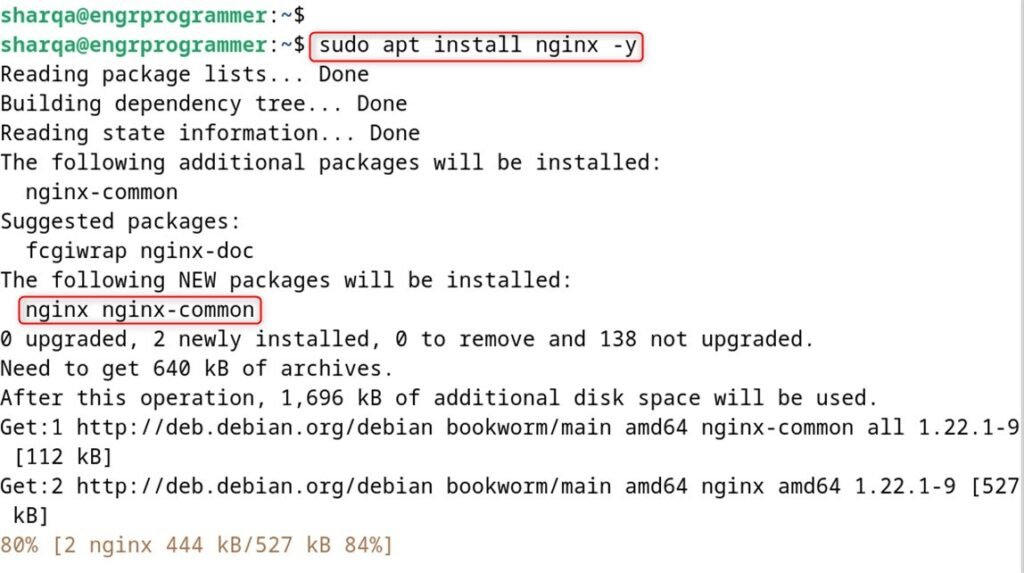
Step 3: Start and Enable Nginx
After the installation is accomplished, individuals can start Nginx as well as enable it to start on boot:
sudo systemctl start nginx
sudo systemctl enable nginx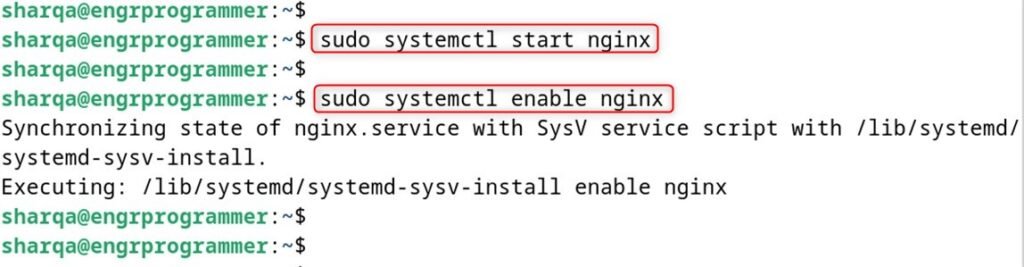
Step 4: Verify the Installation
To authenticate that Nginx is running, individuals can check its status indicating that Nginx is active and running:
sudo systemctl status nginx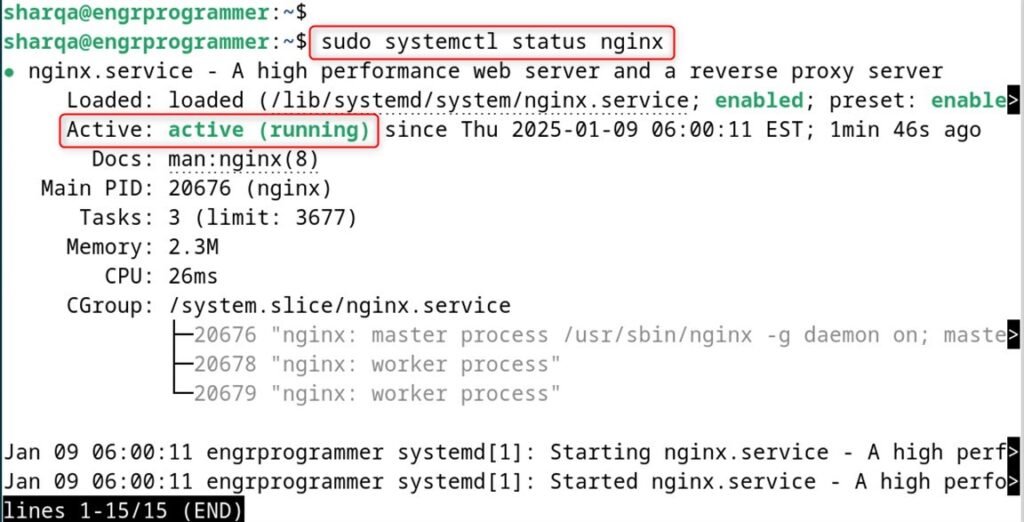
Step 5: Adjust the Firewall
If users have a firewall enabled, they may be required to allow traffic on HTTP (port 80) and HTTPS (port 443):
sudo ufw allow 'Nginx Full'
Step 6: Test Nginx
Finally, launch the web browser and enter your server’s IP address. It visualizes the default Nginx welcome page, indicating that Nginx is installed and running correctly:
localhost
Method 2: Install Nginx Building from Source
Ngnix benefits in the field of working with web servers, making them perform more efficiently with maximum security in use. Let’s install Ngnix from the source file:
Step 1: Install Dependencies
First of all, install the necessary dependencies for building Nginx from the source:
sudo apt install build-essential libpcre3 libpcre3-dev zlib1g zlib1g-dev libssl-dev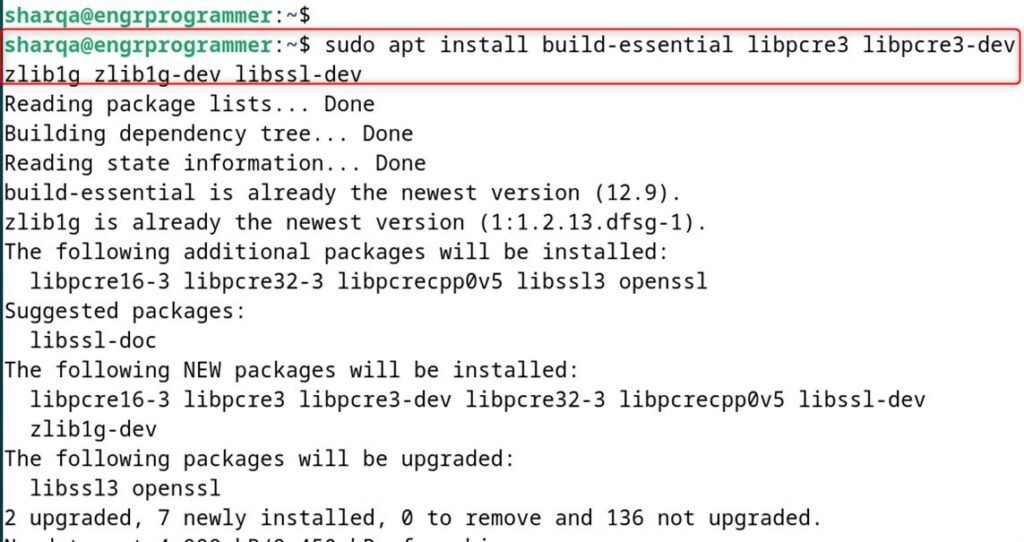
Step 2: Download the Nginx Source Code
After that, download the most recent version of Nginx from the official website:
wget http://nginx.org/download/nginx-1.21.6.tar.gz
tar -zxvf nginx-1.21.6.tar.gz
cd nginx-1.21.6
Step 3: Configure and Compile Nginx
In this step, users need to configure as well as compile Nginx:
./configure
make
sudo make install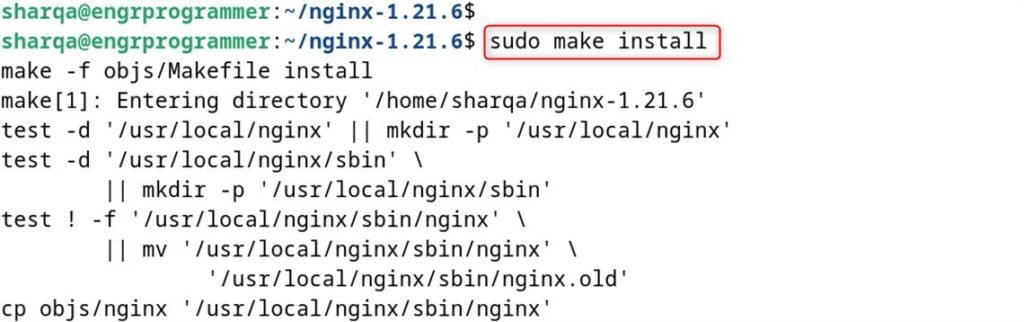
Step 4: Start Nginx
After that, initialize Nginx using the following command:
sudo /usr/local/nginx/sbin/nginx
Step 5: Verify the Installation
Finally, verify if Nginx is running:
sudo /usr/local/nginx/sbin/nginx -v
Step 6: Adjust the Firewall
In this step, users need to allow traffic on HTTP and HTTPS ports:
sudo ufw allow 'Nginx Full'
Step 7: Test Nginx
In the last step, navigate to the web browser and enter your server’s IP address to see the default Nginx welcome page:
localhost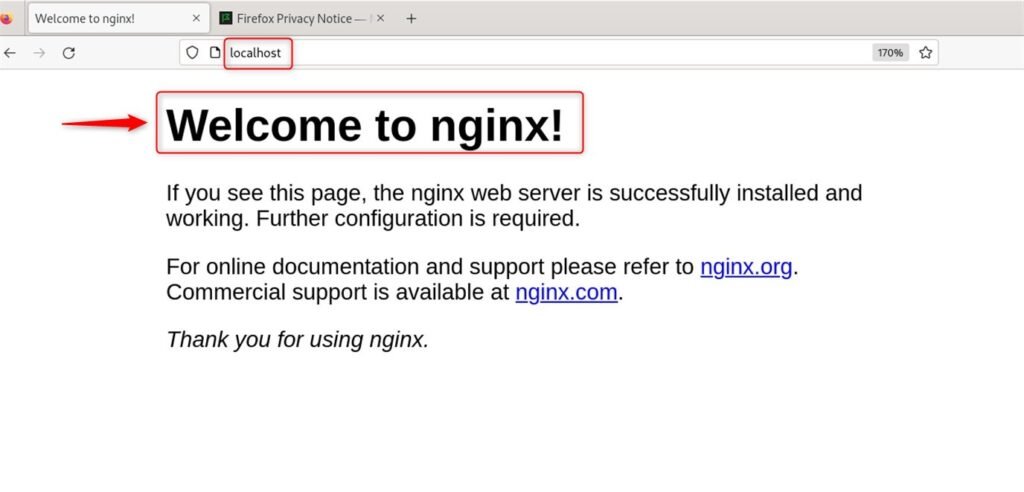
These are the detailed steps to install Nginx on Debian 12 using different methods.
Conclusion
Nginx on Debian can be installed by two methods one by using the default package manager and the other by using the Nginx official repository. Additionally, Nginx features top-class security with its flexible, module-based design. Also, different loadable modules add the possibility for dynamically extensive features to Nginx such as caching and compressions including SSL/TLS termination among other roles.
Keep exploring engprogrammer for more server-relevant guides.