Are you trying to figure out Python’s installation process on your Windows system? Let me guide you!
Python is a popular programming language known for its clear and simple syntax. It was developed by Guido van Rossum. Python is widely employed in fields such as web development, data science, artificial intelligence, scientific computing, and automation.
How to Install and Set Up Python on Windows?
Here is a step-by-step process for installing Python on Windows.
Step 1: Download and Install Python
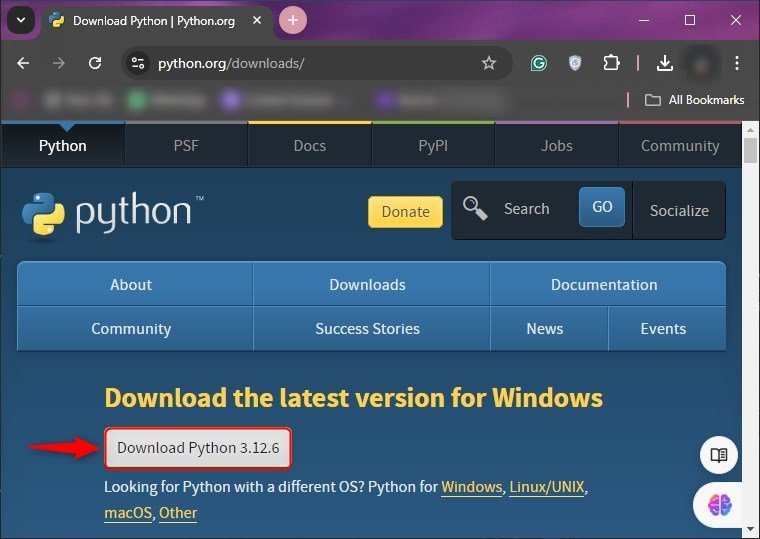
Open your browser and search for python.org. Download the Python’s latest version for Windows from its download page:
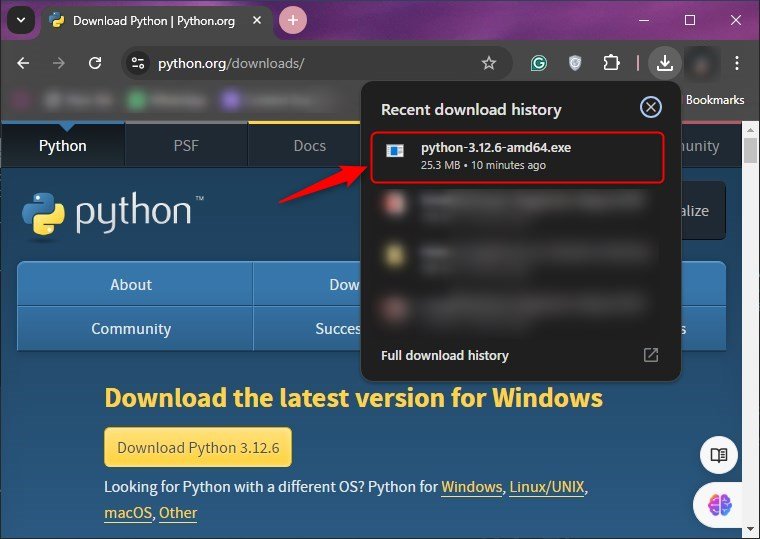
Run the Python installer file once it is downloaded:
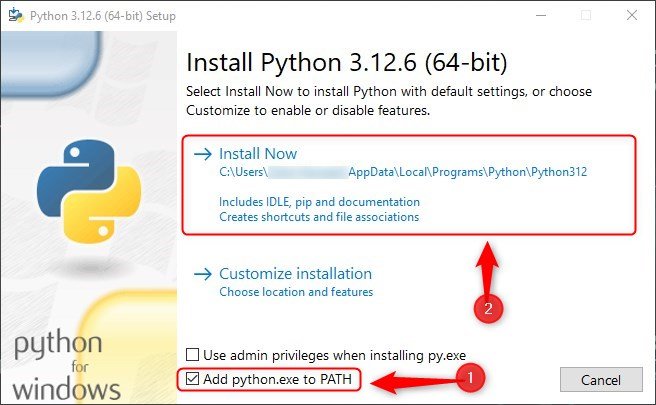
Check the “Add python.exe to PATH” box, and hit “Install Now”:
Step 2: Check Python Version
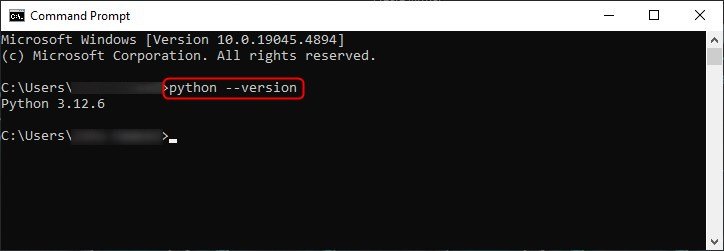
Finally, run this command to verify the installation:
python --version
How to Execute a Python Program?
Here’s a step-by-step procedure used for executing a Python program on Windows:
Step 1: Create a Python File
Open the command prompt and move that specific location where you want to create a Python file:

After that, run this command to create a Python file:
echo. >first_program.py

Step 2: Edit the Python File
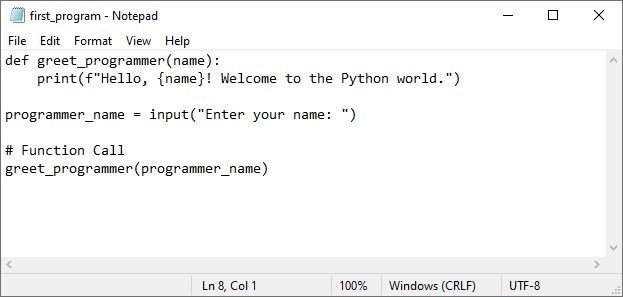
To edit the Python file, open it via a text editor. I have opened the file using Notepad.
Now, add some Python code to the file and save it:
def greet_programmer(name):
print(f"Hello, {name}! Welcome to the Python world.")
programmer_name = input("Enter your name: ")
# Function Call
greet_programmer(programmer_name)
Step 3: Run the Python Script
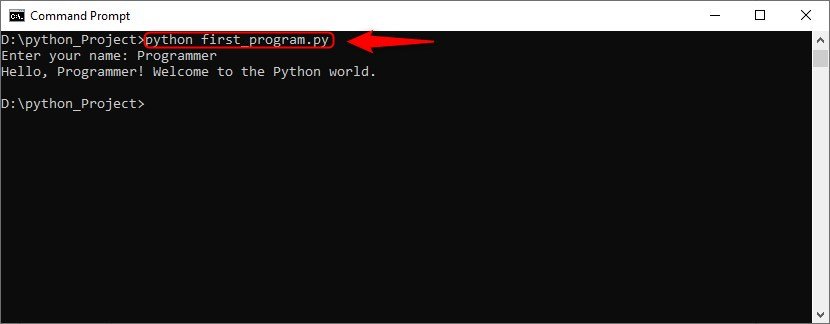
Go back to the command prompt, and execute this command:
python first_program.py
What is pip?
pip is the official package manager for Python which allows you to install, upgrade, and manage packages from the Python Package Index (PyPI).
How to Install pip on Windows?
Here is how you can install pip via the command prompt on Windows.
Step 1: Download pip
Open the command prompt and download pip via curl command:
curl https://bootstrap.pypa.io/get-pip.py -o get-pip.py

Step 2: Install pip
After that, run the downloaded Python script file to install pip:
python get-pip.py

Step 3: Verify Installation
Once done with the installation, run the command below:
pip --version

How to Install a Package Using pip?
Installing a package using pip is quite a simple procedure that allows you to effortlessly add third-party libraries and tools to your Python environment.
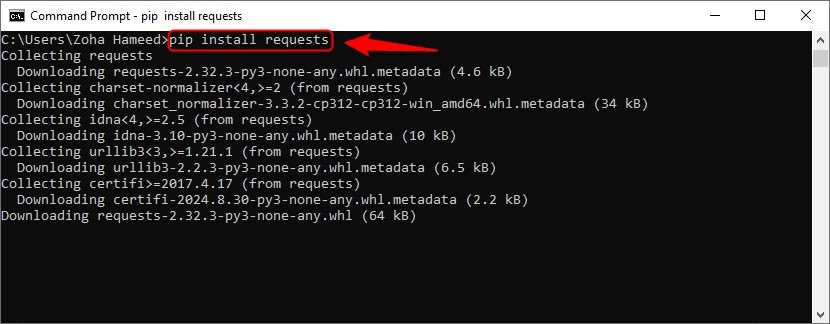
In this section, I will install the “requests” package to demonstrate the installation procedure of a package using pip:
pip install requests
After the installation, launch the Python interpreter and run:
import requests
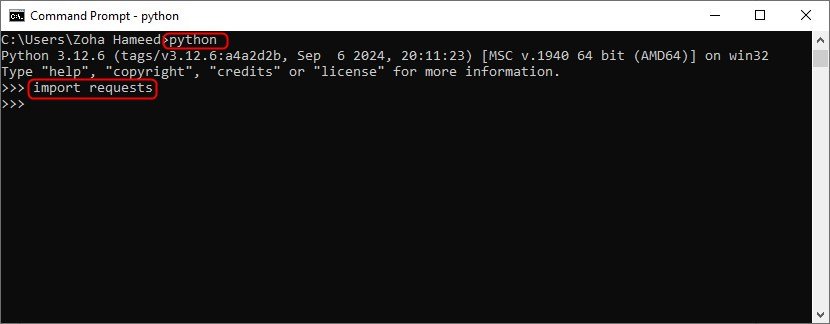
Note: An error-free output indicates its successful installation.
Conclusion
To install and set up Python on your computer, first download it from Python’s official website. Then, launch its installer, adjust the installation settings, and hit “Install Now”. Open the command prompt and check for its version to verify Python’s installation.
If you want to create a virtual environment in Python, check this out!